Pixel Flow Level 389 Solution | Pixel Flow 389 Walkthrough
How to beat Pixel Flow Level 389: Video solution & walkthrough. The fastest way to pass Pixel Flow 389.
Is this the wrong level layout?🤔
Pixel Flow randomizes levels for different players. Don't worry, just upload a screenshot of your board, and our AI will find the correct video instantly.
Pixel Flow Level 389 Walkthrough
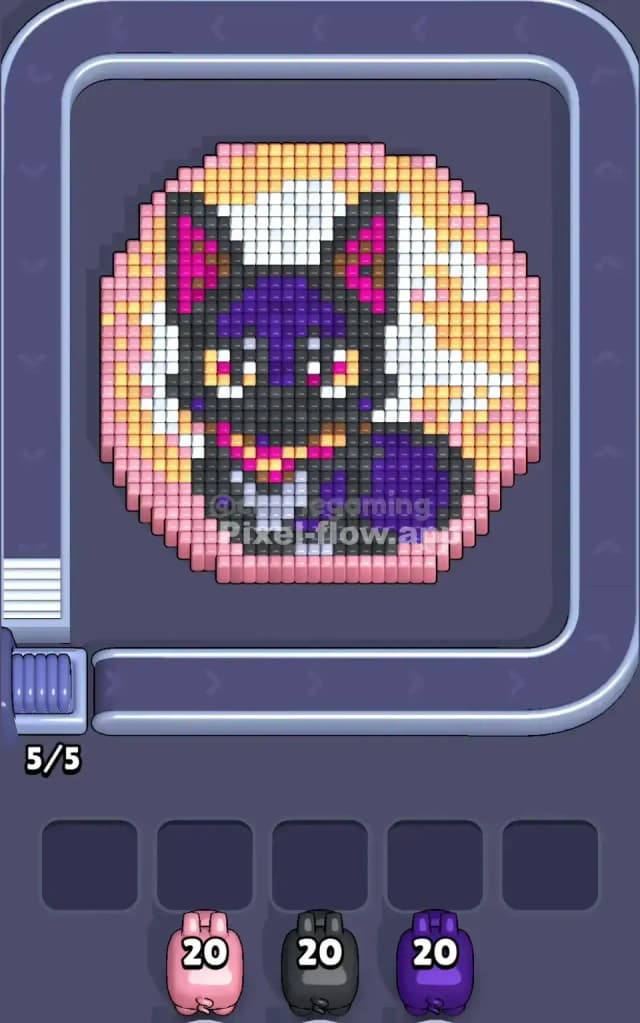
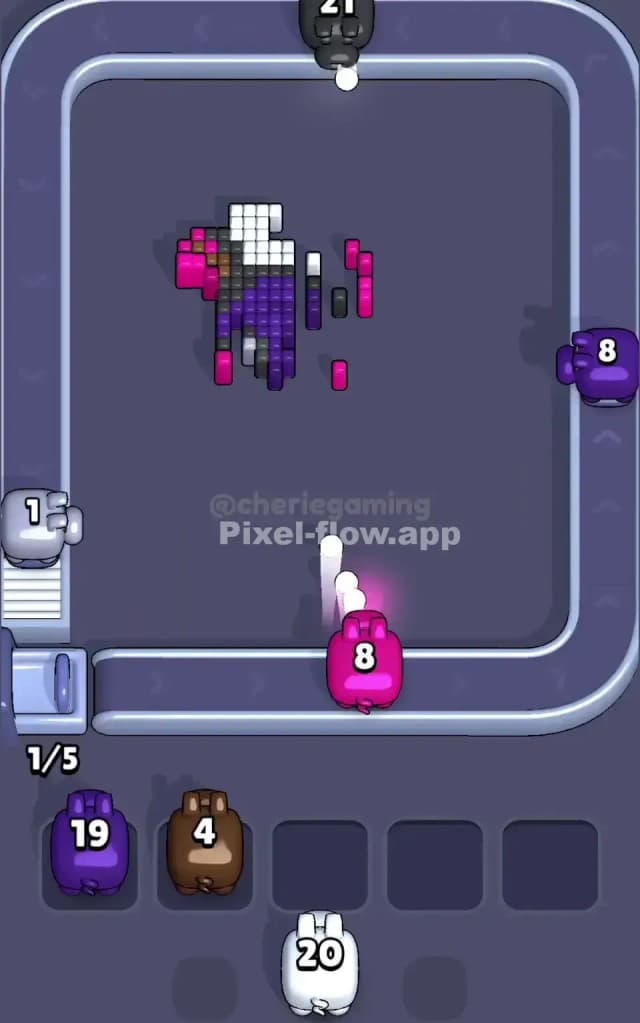
This level features a stylized black cat (or maybe a fox) sitting inside a circular frame. The main subject is dark gray/black with deep purple accents on the forehead and tail, plus bright pink inner ears. The background is a soft gradient circle of pinks, creams, and light oranges. To beat Pixel Flow Level 389, you must strip away the outer pastel circle first to expose the dark animal figure underneath.
Is this level hard? Yes, it is very hard. The background colors are extremely similar (pale pink vs. cream vs. light orange), making it easy to misjudge a pig's ammo count. Additionally, the black cat figure is dense, meaning you need a lot of ammo for the dark gray and purple pigs, but you can't reach those layers until the deceptive outer ring is gone.
Pixel Flow Level 389 Overview
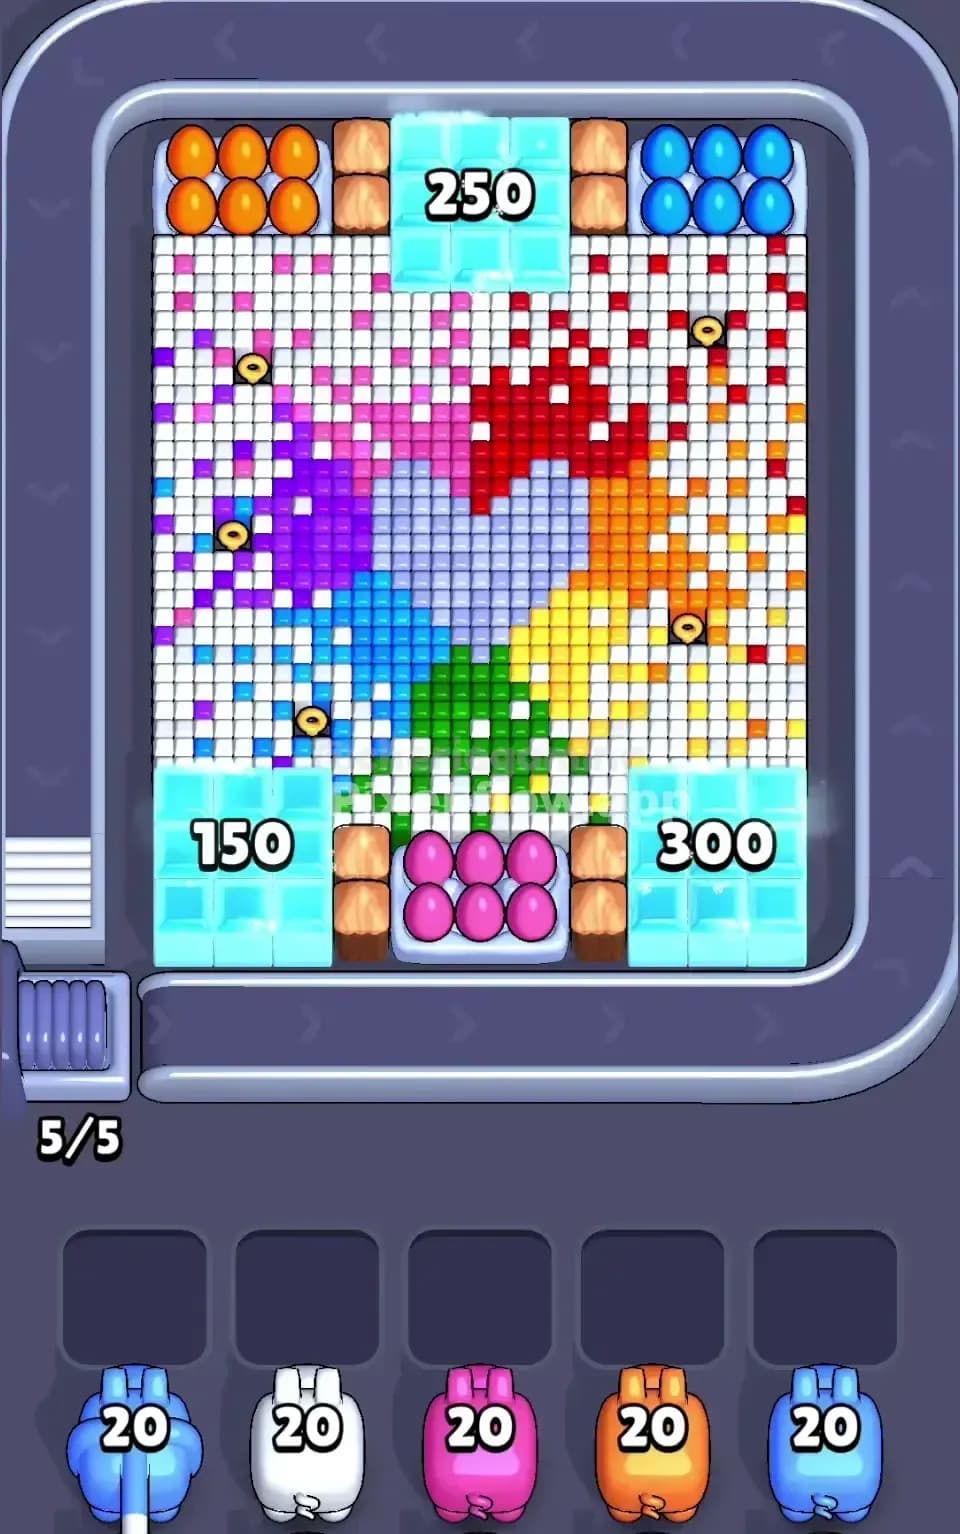
Imagine a cute, dark-furred pet portrait inside a decorative plate. The "plate" is the problem here. It’s a circular background composed of three very similar warm tones:
- Outer Rim: A distinct pink.
- Inner Fill: A mix of cream/white and pale orange.
- The Subject: A black creature with a purple mask and tail.
The structure is symmetrical, which usually helps, but the color distribution is tricky. The black body is a massive "blocker" in the center. You cannot clear the middle of the board until you chip away the edges. The most dangerous aspect is the color confusion on the background. The pale yellow/cream tiles look very similar to the white highlights on the cat. If you send a White Pig too early thinking it will hit the background, it might just sit in your slot because the background is actually cream, and the white is buried deep inside the cat's chest fur.
Step by step solution walkthrough for Pixel Flow Level 389
First Color Zone to Erase in Pixel Flow Level 389
Focus immediately on the Pink ring. This is the outermost layer of the circle.
Narratively, you need to "break the plate" to get to the food. Logically, the pink tiles are the most accessible. They form the perimeter of the circle. Look for the Pink Pigs. They will clear the left and right edges and the bottom curve of the circle.
Do not be tempted to grab the Black or Purple pigs yet unless they have a very clear, unobstructed line of fire to the cat's ears or outer tail. The Pink layer acts as a shield. If you queue up a Black pig now, it might hit 3-4 blocks and then get stuck because the rest of the black blocks are behind pink or cream walls. Clear the pinks to open up the "cream" layer.
How to pass Pixel Flow Level 389 without power ups or boosters
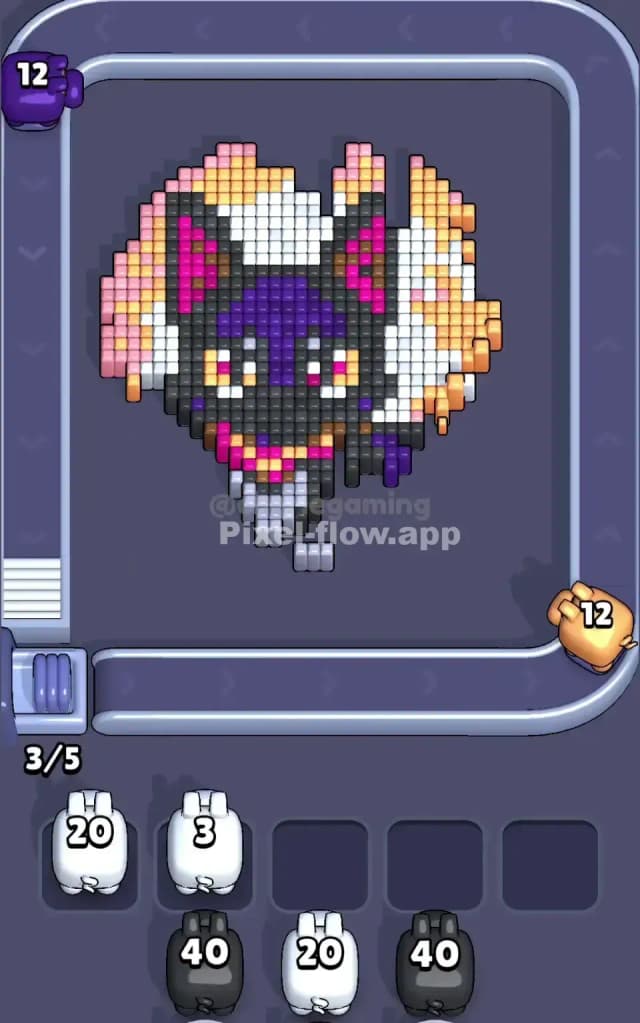
Once the pink rim is mostly gone, the board looks like a jagged mess. You are left with the cream/orange background chunks and the main black body. This is the critical mid-game phase.
Here is the priority shift:
- Cream/Light Orange: These are the remaining background tiles. You must clear these to expose the sides of the cat. Be careful: make sure you distinguish between the cream background and the white chest fur of the cat. They are different layers.
- Purple: The cat has a purple "mask" on its forehead and a purple tail tip. Once the background is thinned out, the purple tail on the bottom right becomes very exposed. Use Purple Pigs now. They often have high ammo counts (around 20), so ensure the tail is fully visible.
- Black (Dark Gray): This is the heavy lifting. The cat's body is a huge block of black voxels. Only deploy a Black Pig (ammo 40 usually) when you have cleared a massive vertical or horizontal swathe of the background. If you deploy it while half the background is still there, it will waste a slot.
The Trap: The cat’s eyes are yellow, and the collar is pink. These are tiny details buried deep. Do not prioritize pigs for these colors until the Black body is significantly eroded. If a Yellow pig appears, let it loop on the conveyor belt. Do not slot it.
Last Details You Clean Up in Pixel Flow Level 389
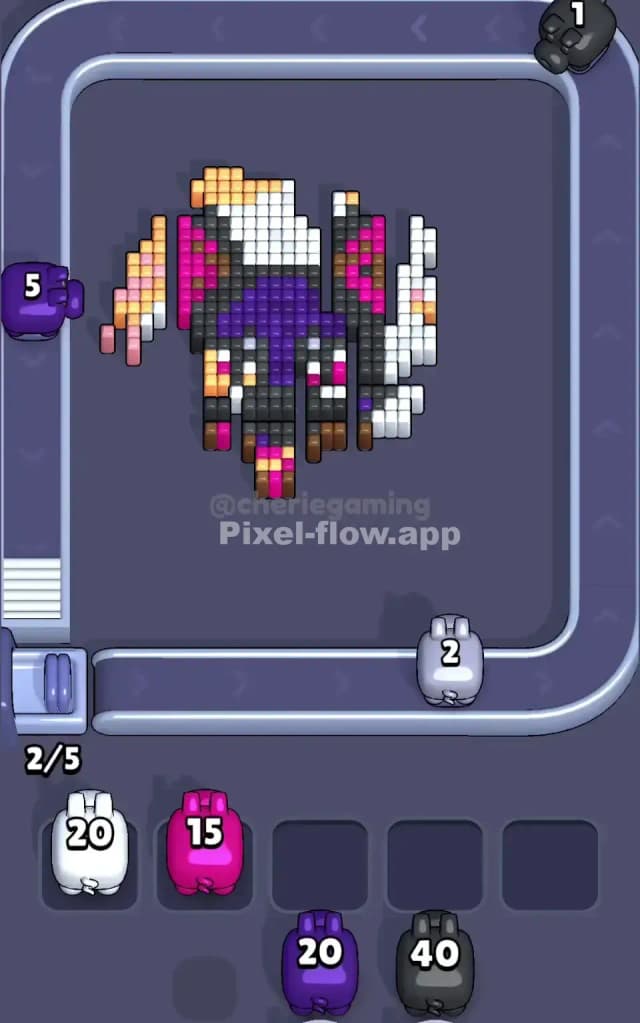
In the final few moves, you are essentially performing surgery on the cat. The background is gone. The massive black body is reduced to a skeleton.
What remains are the "core" colors:
- White: The chest fur and ear tufts. This is usually the last big chunk to go.
- Vibrant Pink: The inner ears and the collar. These are tiny clusters.
- Yellow: The eyes.
Your waiting slots are likely empty or have one stray pig. Watch the conveyor belt for the specific small-count pigs (White/Pink) needed to finish the chest and ears. The very last cube is often a single white block in the center or a pink block in the ear. Don't rush; ensure the pig lines up with that final voxel.