Pixel Flow Level 400 Solution | Pixel Flow 400 Walkthrough
How to beat Pixel Flow Level 400: Video solution & walkthrough. The fastest way to pass Pixel Flow 400.
Is this the wrong level layout?🤔
Pixel Flow randomizes levels for different players. Don't worry, just upload a screenshot of your board, and our AI will find the correct video instantly.


Pixel Flow Level 400 Walkthrough
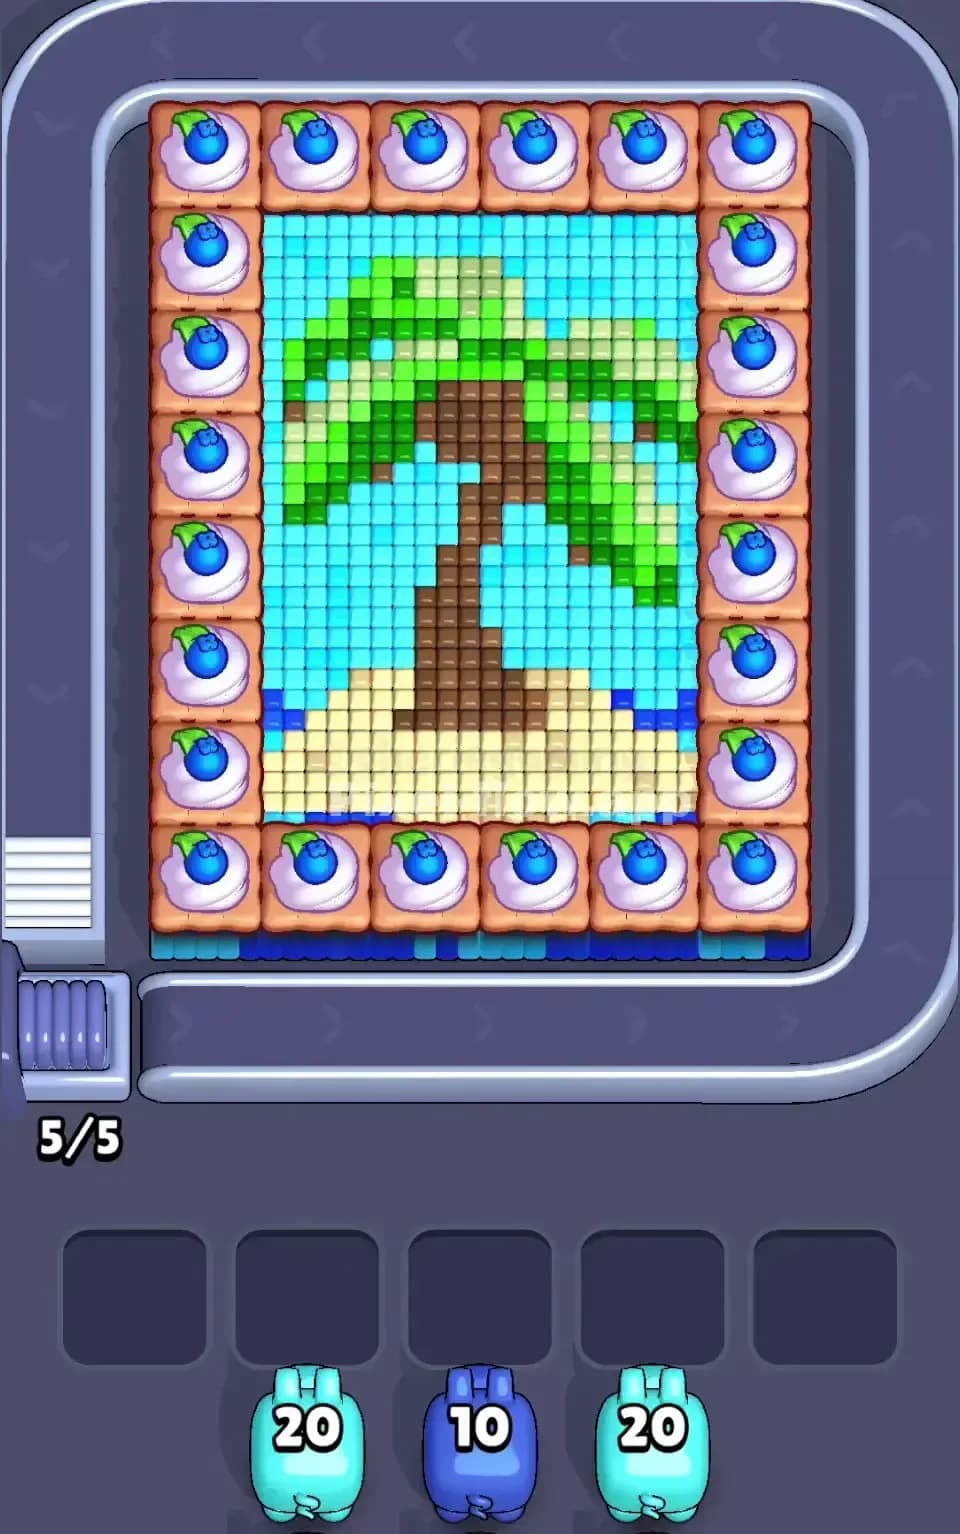
This level looks delicious, but it’s actually a blockade designed to clog your slots. You are staring at a perfect 4x4 grid of blueberry cream tarts. Sixteen identical squares. Each one has a tan biscuit base, a dollop of white cream, a blue berry, and a tiny green leaf. Behind this wall of pastries is a simple background of white and cyan tiles. Beneath the pastries? A chaotic hidden character made of purple, yellow, and black voxels.
The rules are standard, but the density here is the killer. You have to peel back the "crust" (the tan blocks) to even see the colors required for the mid-game. Because the top layer is so uniform and the bottom layer is so messy, slot management is a nightmare. This is a very hard level.
Pixel Flow Level 400 Overview
Imagine a bakery tray fresh out of the oven. The main subject is that grid of 16 blueberry tarts arranged in four neat rows. It feels incredibly heavy on the screen. There isn't much negative space.
While the top layer is perfectly symmetrical, the game plays a trick on you. As you destroy the biscuits, you reveal a jagged, asymmetrical mess underneath. The hidden layer contains Black, Purple, and bright Yellow blocks that look like a completely different pixel art character hiding under the dessert.
The background is a bathroom-tile pattern of white and cyan blocks. It sits passively at the top, mostly out of reach until you clear the top two rows of tarts. The most dangerous visual element is the sheer volume of "Tan" (biscuit color). It covers 60% of the board's surface area. If you don't get Tan pigs early, you are stuck staring at a wall you can't scratch.
Step by step solution walkthrough for Pixel Flow Level 400
First Color Zone to Erase in Pixel Flow Level 400
The game often hands you Green pigs immediately (as seen in the 20/20 ammo count). This is a bit of a bait. You might look at the huge tan biscuits and panic because you have no tan pigs. Don't.
Look closely at the board. There are two zones of green. First, the tiny green leaves on top of every single blueberry. Second, a solid strip of dark green "grass" running along the very bottom edge of the tray.
I start by targeting that bottom green strip and the accessible leaves. Why? Because the green strip is the only "easy" mass of color you can clear to create visual breathing room. Clearing the leaves is tedious but necessary to prevent those 1-pixel leftovers from clogging your board later. Use the high-ammo green pigs to strip the greenery completely before worrying about the dough.
How to pass Pixel Flow Level 400 without power ups or boosters
The mid-game is where Pixel Flow Level 400 gets ugly. You will likely have a board that looks half-eaten. Some biscuits are gone, revealing the Purple and Yellow blocks underneath, while others are still pristine.
The trap here is the waiting slots. You will inevitably draw pigs for the hidden colors (Purple, Black) while the Tan biscuits still cover half the board.
Here is the plan:
- Prioritize the Tan Pigs: Whenever a Tan pig appears on the belt, do not let it pass. Use it immediately to break the biscuit layer. You cannot win until the "crust" is gone.
- Ignore the Cyan/White Background: You might be tempted to shoot at the top background tiles to feel like you're making progress. Stop. That background isn't blocking anything. Focus entirely on the center 4x4 grid.
- The "Hidden Color" Jam: If you get a Purple or Black pig but those colors are still buried under a biscuit, check if any pixel of that color is exposed. Often, the game exposes a tiny corner of the hidden layer. If you can fire even one shot, do it to keep the pig moving. If you absolutely can't shoot, you must let it sit in a slot. Just pray you get a Tan pig next to clear the obstruction.
Last Details You Clean Up in Pixel Flow Level 400
Once the pastry shop is demolished, you are left with the skeleton of the level. This usually consists of the scattered White and Cyan background tiles at the very top, and the final clumps of the hidden character (usually the Yellow bits).
The last few moves are often spent hunting down single pixels of White cream that survived the initial barrage. These white specks blend in with the background tiles, making them hard to spot. Scan the board specifically for white blocks that are "floating" or attached to the hidden yellow figure, and clear those before you waste ammo on the back wall.


