Pixel Flow Level 446 Solution | Pixel Flow 446 Walkthrough
How to beat Pixel Flow Level 446: Video solution & walkthrough. The fastest way to pass Pixel Flow 446.
Is this the wrong level layout?🤔
Pixel Flow randomizes levels for different players. Don't worry, just upload a screenshot of your board, and our AI will find the correct video instantly.


Pixel Flow Level 446 Walkthrough
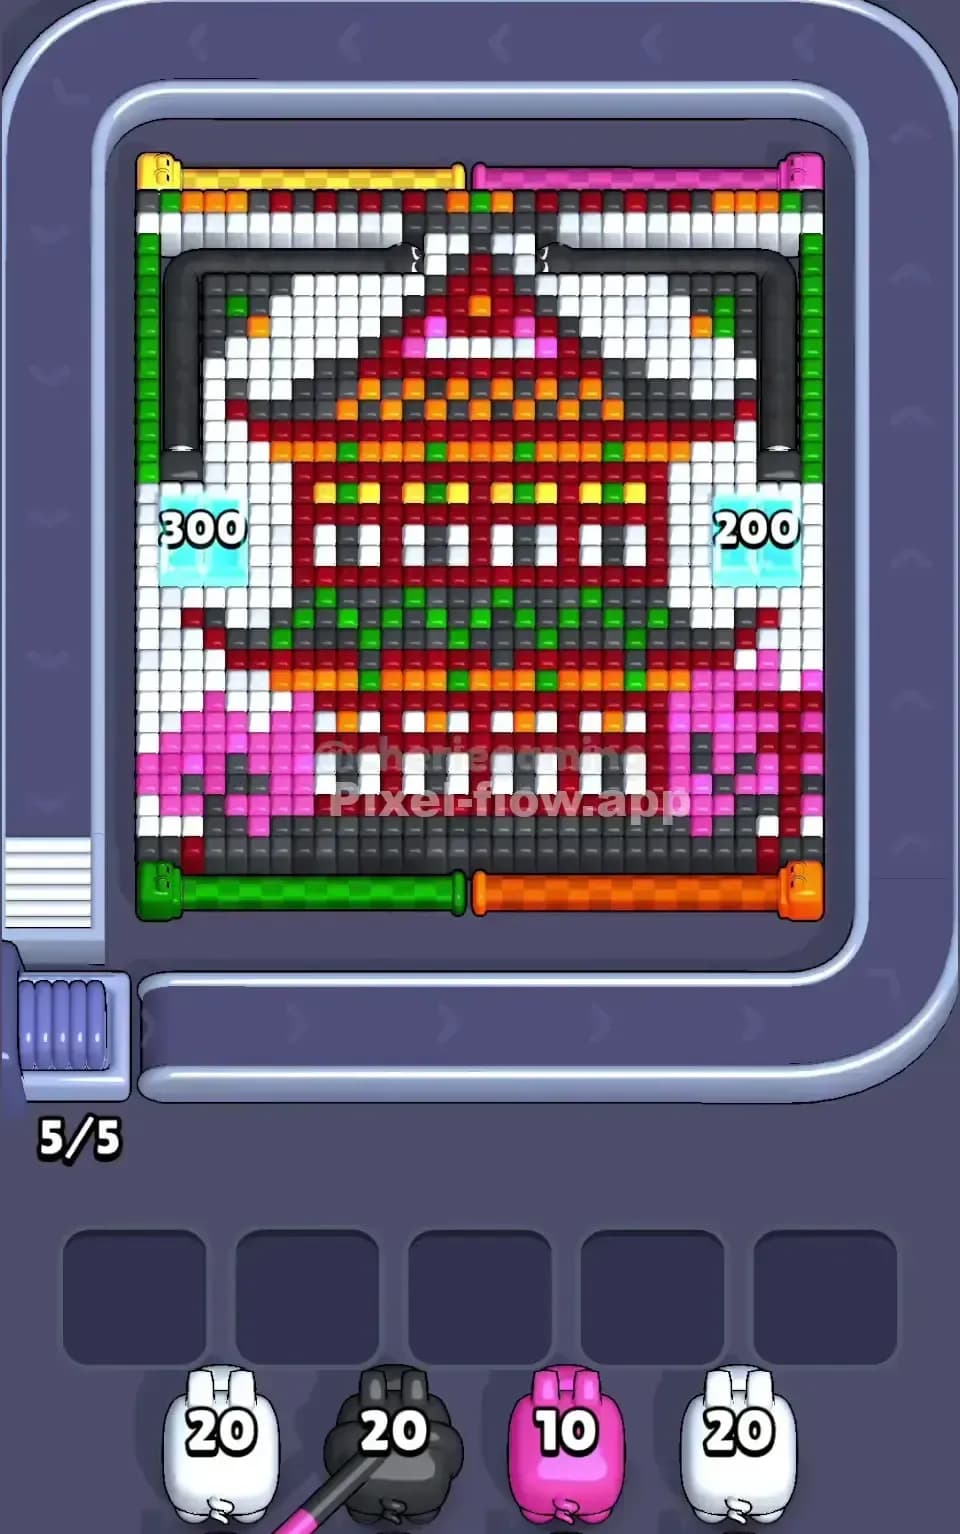
This level features a striking, vertical abstract wing design, resembling a stained-glass butterfly or a cybernetic moth. The artwork is dominated by a thick spine of Black and Grey pixels on the left, housing hidden keys. The rest of the image is a vibrant mix of Purple, Blue, and Cyan bands, all encased in a massive, deceptive wrapper of White pixels.
The rule to beat Pixel Flow Level 446 is simple but punishing: you must manage your ammo economy against two colossal Ice Blocks at the bottom of the screen. One has 300 HP. The other has 400 HP. These are massive ammo sinks. Because you have to chew through 700 combined HP while also clearing the actual art, your waiting slots will fill up fast if you aren't aggressive. This is a very hard level.
Pixel Flow Level 446 Overview
Think of this board as a heavy door with two rusted locks. The "door" is the beautiful wing pattern made of Purple and Blue stripes. The "locks" are those two giant blue-glass pillars at the bottom labeled 300 and 400. Until those pillars break, they physically block shots from reaching the bottom rows of the pixel art.
The visual setup is highly asymmetric. The left side is a fortress of dark Black/Grey pixels. Embedded inside this dark wall are Gold Keys. You need these. They unlock deeper layers or potentially help clear obstacles. The right side is lighter, covered mostly in White filler blocks that hide a winding path.
The atmosphere here is claustrophobic. You have very little room to maneuver because the 400 HP block occupies a huge chunk of real estate on the right. It feels like the game is daring you to waste your pigs. If you accept pigs that don't have a clear shot at White or Black pixels immediately, you will clog your bench and lose before you even scratch the ice.
Step by step solution walkthrough for Pixel Flow Level 446
First Color Zone to Erase in Pixel Flow Level 446
I start by attacking the White zone aggressively. This is the only valid opening move. Look at the board: the entire top right and right-hand edge are covered in White pixels.
Narratively, you are peeling the sticker off the backing. Logically, White is the most abundant color that is exposed above the ice blocks. Your pigs on the conveyor belt cannot shoot through the 400 HP ice block yet. However, they can shoot over it to hit the White pixels near the top. By clearing the White layer, you do two things:
- You create space for the inner colors (Purple/Blue) to become valid targets.
- You reveal the full shape of the wing, giving you more options for your pigs so they don't get stuck in your waiting slots.
Ignore the Black spine on the left for the first few seconds unless you have a high-ammo Black pig and a clear shot. White is your safety valve.
How to pass Pixel Flow Level 446 without power ups or boosters
The mid-game of Pixel Flow Level 446 is where most players fail. At this point, you have likely stripped away the top layer of White. The board looks messy. The 300 and 400 HP blocks are damaged but still standing.
Here is the grind. You must prioritize Black pigs to hit the left side spine. Why? Because of the Keys. You need to dig those keys out of the Black pixels. Often in Pixel Flow, collecting a key triggers an event that helps clear difficult barriers or reveals the next layer instantly.
While you dig for keys, do not ignore the Ice Blocks. Any pig that has no other target should be dumping ammo into these blocks if the game mechanics allow generic hits, or if you get Cyan/Ice pigs specifically for them. If the blocks are neutral barriers, every spare shot counts.
Watch out for the Purple Snake. Once the right-side White pixels are gone (around the 400 block area), a purple winding shape—resembling a snake or a tube—often becomes the next obstacle. This structure is dense. You need to keep a slot open for Purple pigs specifically for this right-side threat. If you fill your slots with Blue or Red while the Purple snake is blocking the way, you are dead.
Last Details You Clean Up in Pixel Flow Level 446
The end of Pixel Flow Level 446 is usually a scramble to clear the Blue and Cyan stripes that make up the inner wing.
Once the massive ice blocks shatter, the bottom rows are finally exposed. These are often single, stray pixels that were hiding behind the numbers "300" and "400". They are easy to miss. Check the very bottom corners.
Also, look closely at the "spine" on the left. Sometimes a single Dark Grey pixel blends in with the background. Ensure you aren't discarding Grey pigs thinking the level is over. Your final moves will likely involve sniping these deep-layer stragglers while the conveyor belt moves faster. Keep your cool. Don't spam click. Verify the target line connects before you drop the pig.