Pixel Flow Level 486 Solution | Pixel Flow 486 Walkthrough
How to beat Pixel Flow Level 486: Video solution & walkthrough. The fastest way to pass Pixel Flow 486.
Is this the wrong level layout?🤔
Pixel Flow randomizes levels for different players. Don't worry, just upload a screenshot of your board, and our AI will find the correct video instantly.


Pixel Flow Level 486 Walkthrough
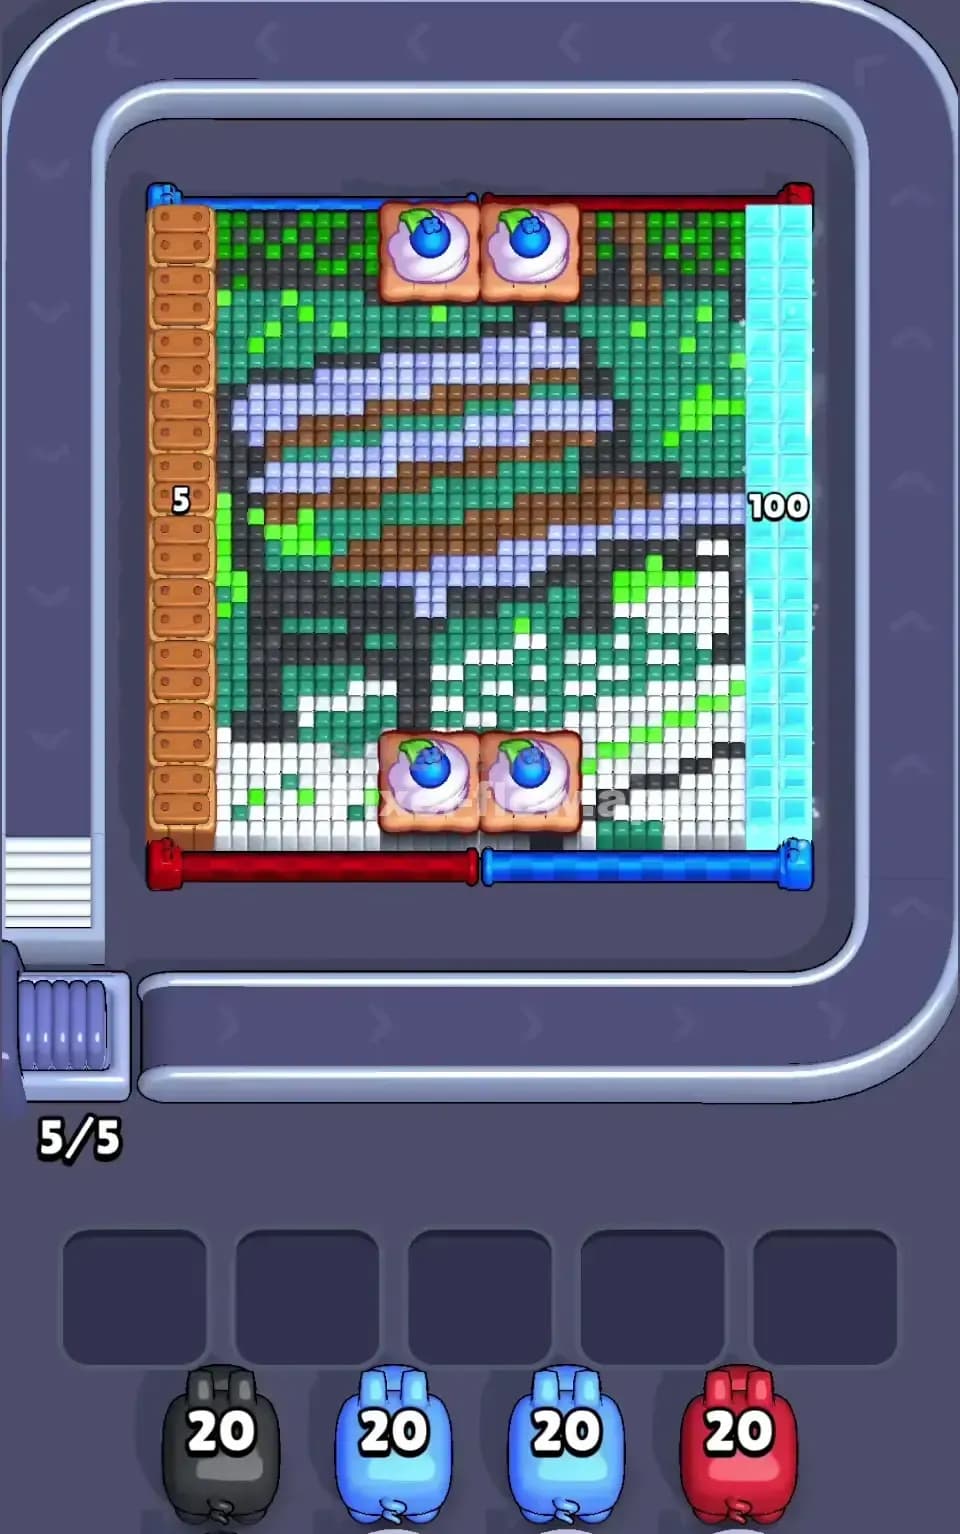
This level is a beast. It forces you to juggle massive open areas against a locked, impenetrable quadrant that sits there taunting you for half the game. The board is divided into four distinct sections: a locked brown cabinet in the top left, a scenic landscape in the top right, and two large pixel-art portraits of a boy and a girl taking up the bottom half.
To beat Pixel Flow Level 486, you have to play the long game. You cannot touch the top-left corner until you find a specific high-ammo Yellow pig. Your goal is to clear the three "open" quadrants—the faces and the landscape—to cycle your conveyor belt fast enough to find the key to that cabinet. Because of the high ammo count on the lock (40!) and the risk of clogging your waiting slots, this is a very hard level.
Pixel Flow Level 486 Overview
The artwork here tells a fragmented story. The bottom half is dominated by two cheerful faces—a boy with black hair and a green shirt on the left, and a girl with red hair on the right. They are drawn with huge chunks of Cream (skin tone), which makes them prime targets for high-ammo pigs.
The top right corner is a landscape scene, likely what these two characters are looking at. It features a bright Cyan sky and Green grass, with some pixelated figures in the distance.
But the real problem is the top left. It’s a set of double wooden doors locked tight with a Yellow Lock requiring 40 hits. This creates a massive asymmetry. You have three active zones where you can dump ammo, and one "dead zone" that acts as a brick wall until the very end. This dead zone is dangerous. If your waiting slots fill up with pigs that only target colors hiding behind those doors, you will get stuck and fail. The vibe is deceptive; the smiling faces hide a resource-management nightmare.
Step by step solution walkthrough for Pixel Flow Level 486
First Color Zone to Erase in Pixel Flow Level 486
Ignore the faces for a second. Your eyes naturally drift to them because they are big, but the smartest first move is to attack the Green and Cyan in the top right quadrant (and the boy’s shirt).
Why? The Green (20) and Cyan (10) pigs appear early in the rotation. The top right landscape is messy—it has scattered pixels rather than solid blocks. If you don't clear this "noise" early, these stray pixels will block your line of sight to deeper layers later on.
I start by dropping the Green pig to shave off the grass in the top right and the boy's shoulders in the bottom left. This creates two clear lanes. Immediately follow up with the Cyan pig to wipe out the sky. By clearing the scattered background elements first, you simplify the board into big, solid chunks of color (Hair and Skin), which are much easier to manage when your slots start getting full.
How to pass Pixel Flow Level 486 without power ups or boosters
Once the greenery and sky are gone, you enter the mid-game grind. At this point, the board looks half-destroyed. The "skin" of the level is peeling off. This is where you encounter the Cream/Beige pigs.
You will likely see pigs with massive ammo counts (20 or more) for the Cream color. Do not waste these. The boy and girl faces are almost entirely solid blocks of Cream pixels.
Here is the no-booster strategy:
- Prioritize the Faces: When a Cream pig arrives, don't just drop it anywhere. Look for the column that hits the most face pixels at once. You want to drain that pig's ammo to zero instantly so it doesn't occupy a waiting slot.
- The Hair Trap: You will get Black (for the boy's hair) and Red (for the girl's hair) pigs. These are dangerous. The hair blocks are often oddly shaped or interrupted by the eyes (Blue pixels). Make sure you have a clear line of sight before dropping a Black pig, or it will sit in your slot with 3 ammo left, clogging your flow.
- Ignore the Lock: You might get frustrated seeing that 40-hit lock. Ignore it. If you don't have a Yellow pig, that door doesn't exist. Focus entirely on stripping the faces down to the background layer.
Last Details You Clean Up in Pixel Flow Level 486
As you enter the final phase, the faces should be gone, revealing the hidden layers beneath. In Pixel Flow 486, clearing the outer layer often reveals text or hidden blocks. You might see purple letters forming words like "YOU" beneath the top left quadrant once the doors open.
This is the most critical moment. You finally need to deal with the Yellow Lock.
- Hoard the Yellow Pig: The moment you see a Yellow pig on the belt, do whatever it takes to get it into a slot. Do not let it pass.
- The 40-Hit Dump: Once you have the Yellow pig, the brown doors become your primary target. The pig will unload all 40 shots into the lock. It is satisfying, but slow.
- Cleanup: Once the doors shatter, you'll be left with the interior colors—usually dark purples or browns that make up the hidden message. The Purple pig (often seen with low ammo like 3 or 5) is useless until these doors open. If you kept a Purple pig in your slot for the whole game waiting for this moment, you played it wrong. You should only grab the Purple pig after the Yellow lock is broken.
Clear the lock, sweep the hidden text, and the level is yours.